Quilting can be completed by hand sewing, using a walking foot on a domestic sewing machine, free motion quilting on a domestic sewing machine or by using a long arm machine with a special frame. How you quilt is personal to you and the equipment you have. In this blog we will look at how and why to use stencils.
First things first lets make sure we have everything we need. This is my list you may have other things you would like to add to this list.
Quilt layered with backing and wadding (making sure the backing and wadding are a couple of inches bigger all round.)
Masking tape
Marking tools
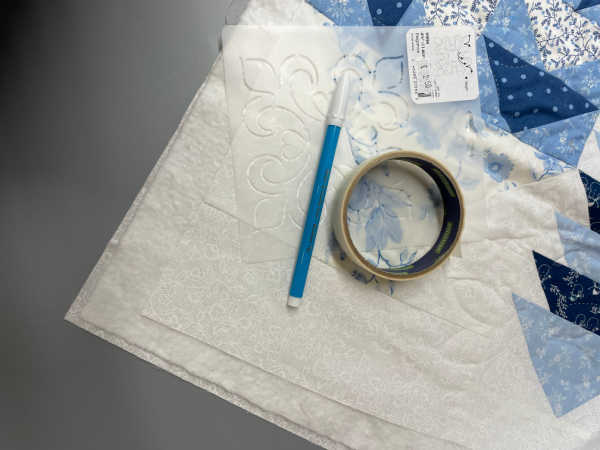
I prefer to layer my quilt and then put the quilt design on however there really is nothing stopping you from drawing you quilt design on and then layering up, unless you are using chalk to mark up as you will find the quilting lines will brush away during the layering up process.
Marking tools
A hot topic amongst quilters the world over, really think about this and try out different methods/products and see what works best for you. I have often used the water soluble pens but mostly use a mechanical pencil and water colour white pencil. Here are some pro’s and cons of a few options.
Chalk, either tailors, using a quilt pounce or a chaco pen.
Pro’s Chalk gives a clear line and is available in many colours, it dusts off easily, you probably already have it, if not it’s fairly cheap to buy.
Cons It can be messy, the colours can stain, it dusts off easily so you can not mark a whole quilt only small sections, I once used a quilters pounce to mark the design, popped the knot for hand quilting and all the chalk lifted off the quilt and disappeared!
Pro’s Clear sharp lines, dose not smudge or brush off, you can mark up a whole quilt, sponges off easily with a damp cloth.
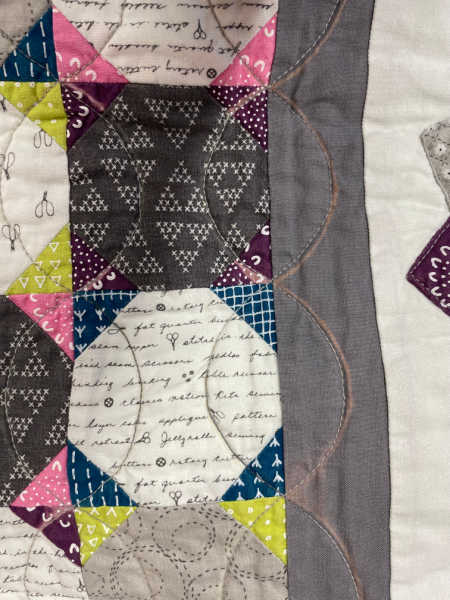
Con’s Can permanently mark your quilt, look at the gray and purple fabric on this quilt. Always test on scrap fabric.
Pro’s Great for straight lines, does not leave a mark that needs to be washed, does not damage the fabric, great for hand quilters.
Cons Tricky to see, you can not mark a whole quilt.
Mechanical Pencil
Pro’s Nice clear fine lines, great on pale fabrics, rubs or washes out, cheap to buy.
Cons Not easy to see on dark fabric, takes some time to rub out, not everyone wants to wash a freshly made quilt.
Pro’s clean line, different colour fillers, rubs out easily
Con’s there is a knack to getting it to mark with out breaking the leads, would not mark a whole quilt as it would rub off but it’s much better than chalk.
Frixion Pens
Pro’s lovely line, lots of different colours, iron or hairdryer the lines away
Cons These were never made for fabric. The lines may come back, the lines may bleach the fabric.
Water soluble pencils (artiest pencils)
Pro’s Lots of different colours, marks the fabric easily, sponges out.
Cons These are not made for fabric. I have used white a lot and never had a problem but colours can stain. They need sharpening regularly as the line gets thick quickly.
Air erasable pens
Pro’s give a good clear line
Cons you can only mark a small area, if you live somewhere like Cornwall the lines disappear very quickly because of the moisture in the air.
I am sure there are other marking methods please add your experiences in the comments section of the ones I have discussed or ones I have forgotten.
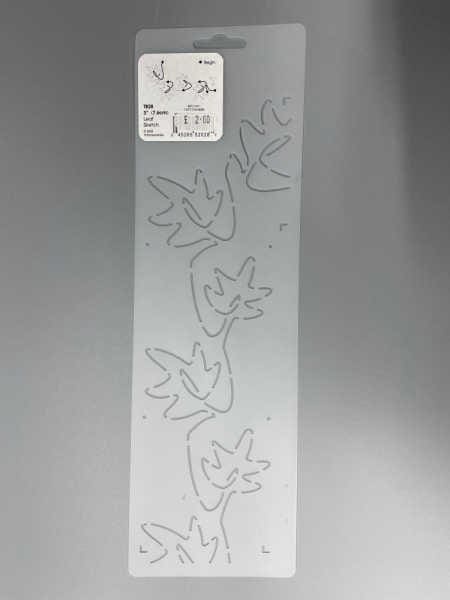
Do you remember in the 80’s when we used stencils to put patterns on our walls? If you answered yes then think of those stencils and you are not a million miles away. If you answered no then a quilting stencil is a thin piece of plastic which has a design line laser cut out of it, you draw in this line onto your quilt, no drawing skills needed. They are pretty cheap and super effective at giving a crisp design.
There are lots of different stencils to choose from, what should I choose?
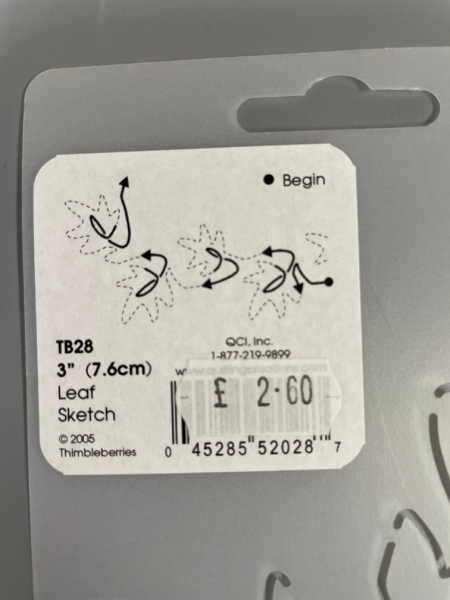
Apart from the style (use your quilt for inspiration) the biggest thing to look at is the size of the stencils. The size on the description is usually the size of the design and not the size of the whole stencil. Check these measurements against where you want to put it on your quilt. Remember you don’t have to use the whole stencil you could just use a bit like I have on this quilt block.
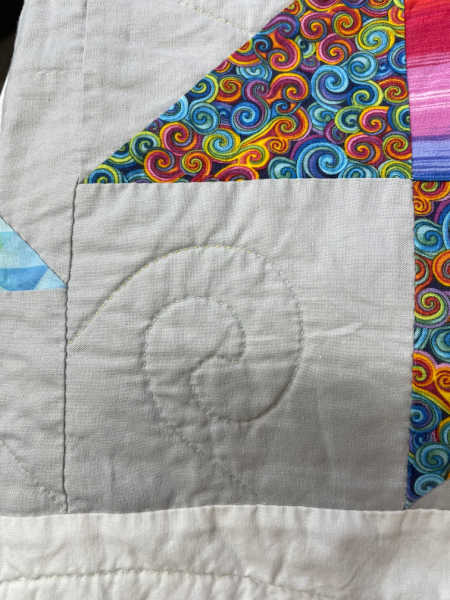
If you are going to use your machine to quilt take into account your skill level when choosing a stencil, some are a lot tricker that others. Look for stencils with a continuous line as it makes life much easier than having to stop and start with a non continuous line stencil.
How to use the stencils
Compared to deciding on your marking method this is the easy bit! Lay your quilt on a flat surface, put the stencil in place and secure with masking tape. Draw along the stencil lines using your preferred marking method (having checked colour fastness on a scrap of fabric first) Some stencils have guide marks so you can keep the design accurate when continuing the design. Remove the stencil and stitch using your chosen method, it’s really that simple.
Conclusion
If you have not used stencils before I would suggest trying a practice piece first to see if it’s for you.
Make sure the stencil complements your quilt style and skill set.
Tape all the way around your stencil to make sure it is secure and keeps the design accurate.
I can not say this often enough, do as I say and not as I did….. Test those marking methods before drawing on your beautiful quilt. And finally checkout the selection of stencils I have online and in the cabin, don’t hesitate to ask any questions.
Happy Quilting
Mary
