How to bind a quilt for beginners
There are many ways to bind a quilt but this is the way I teach beginners.
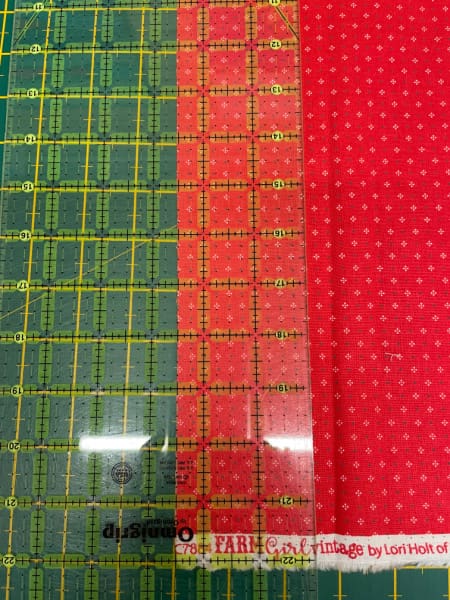
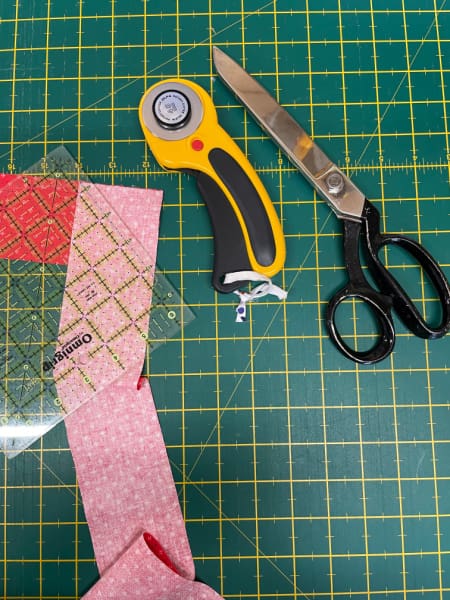
To start we cut the binding strips, unless you are sewing around curves this does not need to be on the bias. Cut the strips 2.5 inches wide and as long as the quilt is around plus about ten inches to take in corners and an overlap at the end. If you are going to join lots of strips add a little more for seam allowances.
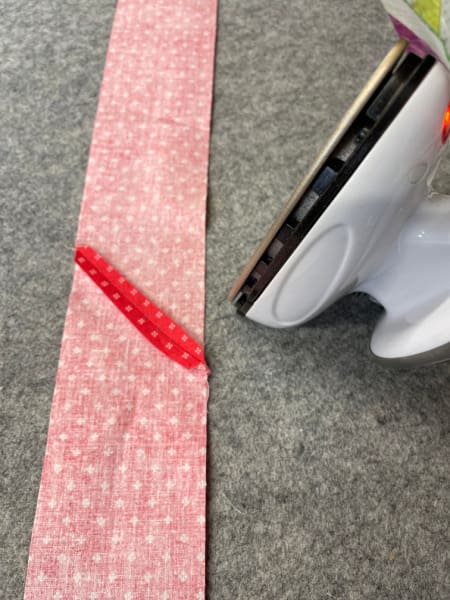
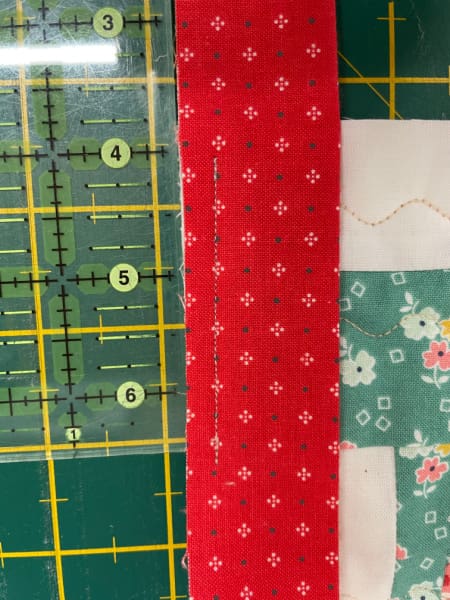
To join strips put them right sides together and draw a line from corner to corner.
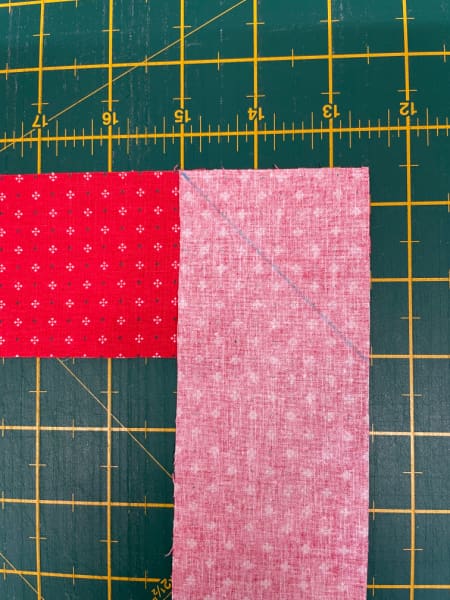
Stitch on this line and trim off leaving a quarter of an inch seam allowance.
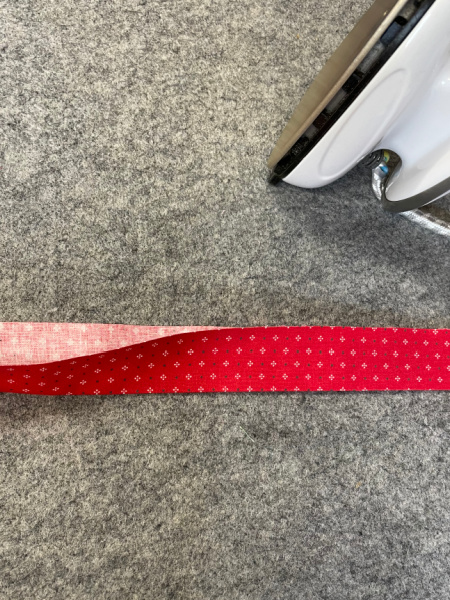
Press this seam open. We do these seams diagonally to spread the bulk of the fabric. If you stitch straight across when we get to folding this area would become very bulky.
Once all of your strips are stitched together check that there is still enough length to go all around your quilt plus about ten inches extra. Add an extra strip if in doubt it is so much easier to have too much than not enough.
Press in half the full length of the strip.
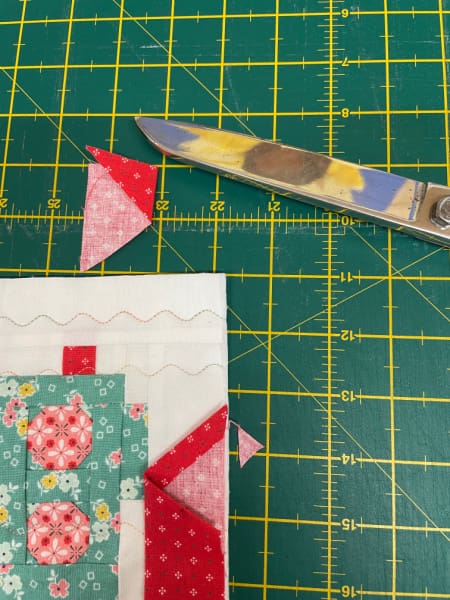
Cut an angle at the beginning of the binding.
Cut an angle so the back is longer than the front.
Press in the cut edge about quarter of an inch to get rid of the raw edge.
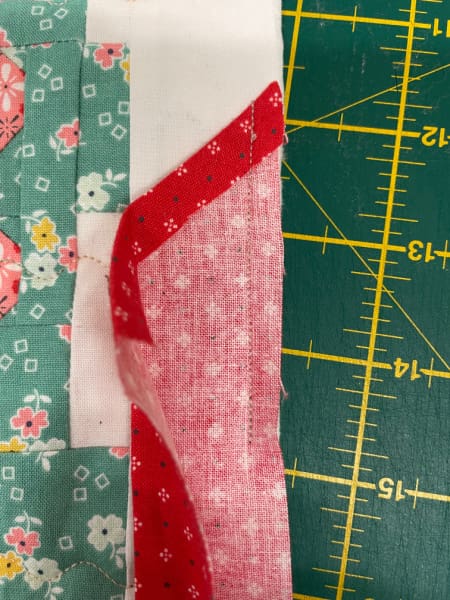
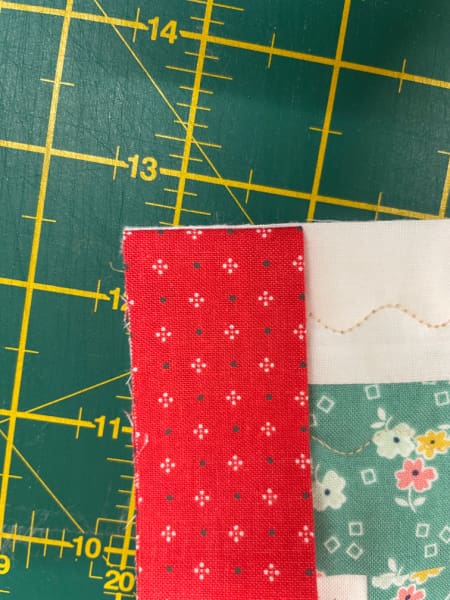
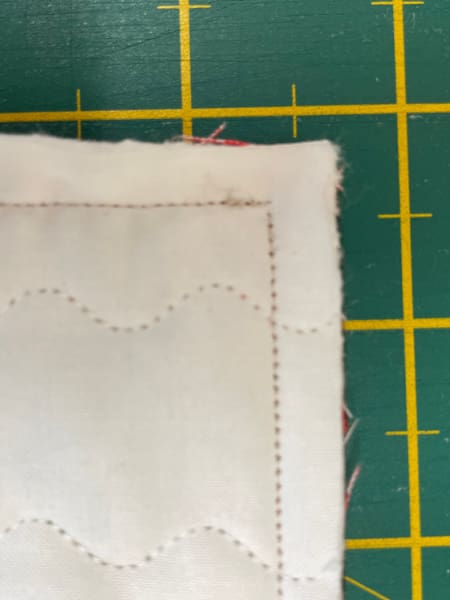
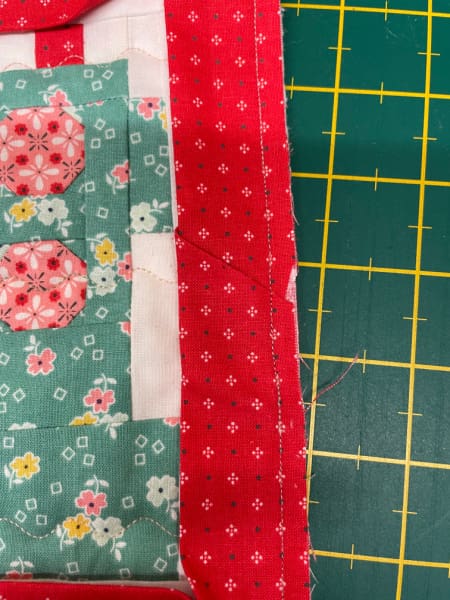
Sew on the edge of the quilt (not in a corner) the single back layer about two inches down from the top edge, over stitch at the beginning and end. Use a quarter of an inch seam allowance. The picture illustrates this better.
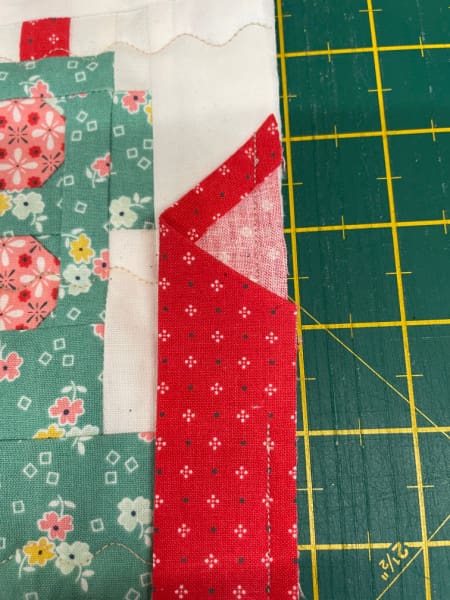
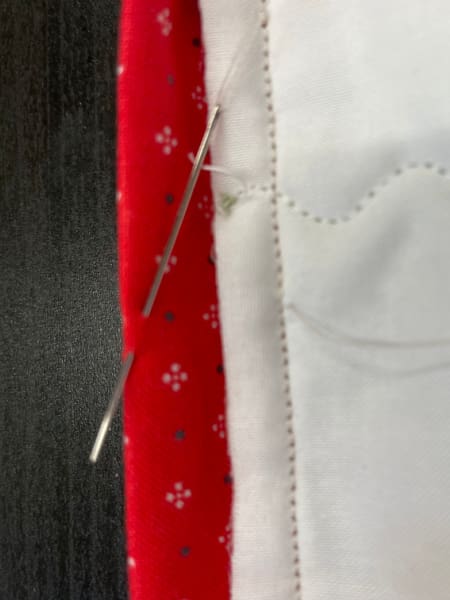
Bring the top layer back over and start stitching where you finished the bottom layer remember to over stitch, this will form a little pocket. Make sure to line up the raw edges with the edge of the quilt.
Stitch until you are a quarter of an inch from the edge of your quilt. Your quarter of an inch foot may have markings to show a quarter of an inch in front of or behind the needle. If not measure and pop a pin in to show you were to stop, back stitch and take out of the machine.
Fold the binding back so that the fold lines up with the edge of the quilt.
Bring the binding over forming a point on the corner. Line the raw edge of the binding with the edge of the quilt pop a pin in this has measured how much fabric you need to get around the corner. Pull the fabric on the corner out of the way as you do not want to stitch this.
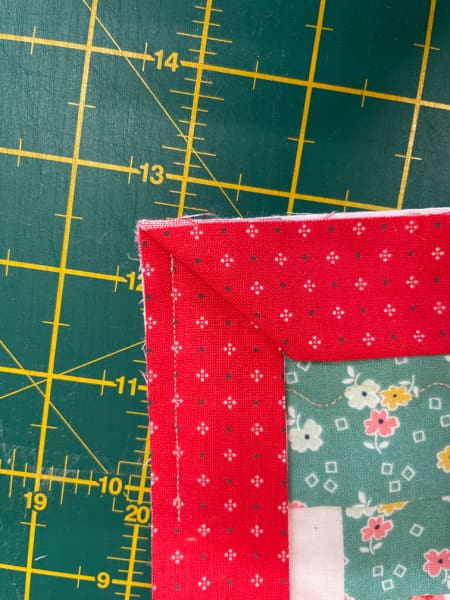
Binding folded.
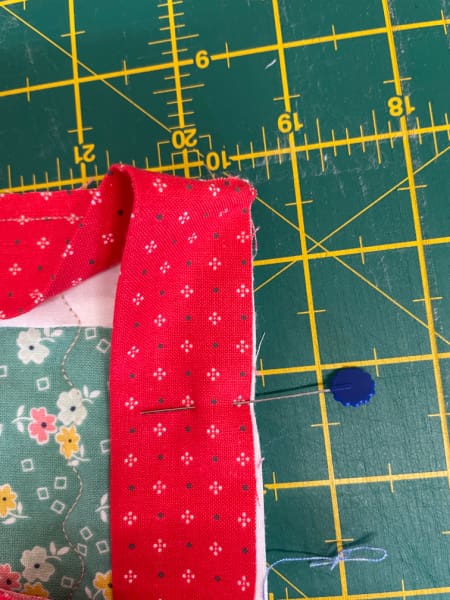
Reverse stitch up stopping a quarter of an inch from the edge of the quilt then stitch down this edge until you get to the next corner. Remember to keep lining up the edge of the binding with the edge of the quilt and keep your quarter of an inch seam allowance.
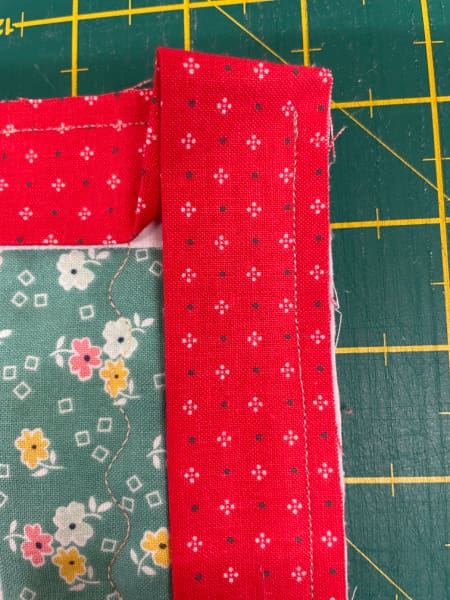
The back of the quilt should look like this with the two stitch lines just kissing each other.
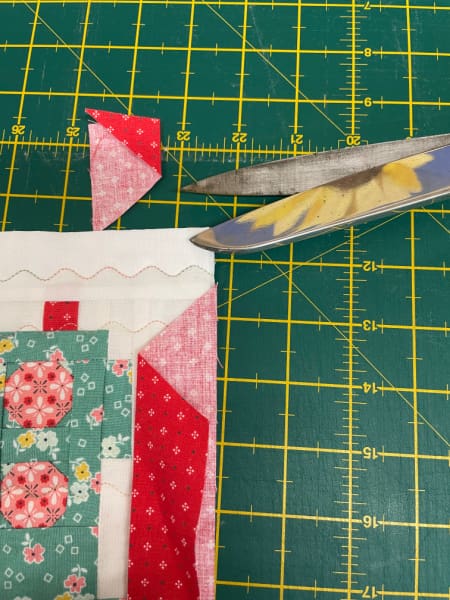
Once you have done all of your corners and you are getting close to where you started trim off the excess and put a slant as in the photograph.
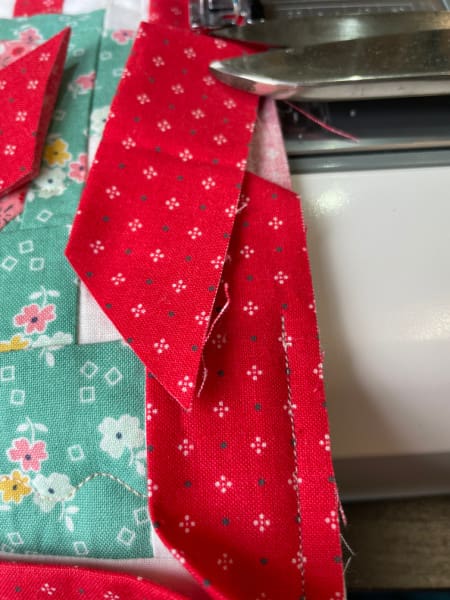
Trim the binding with a pointy end.
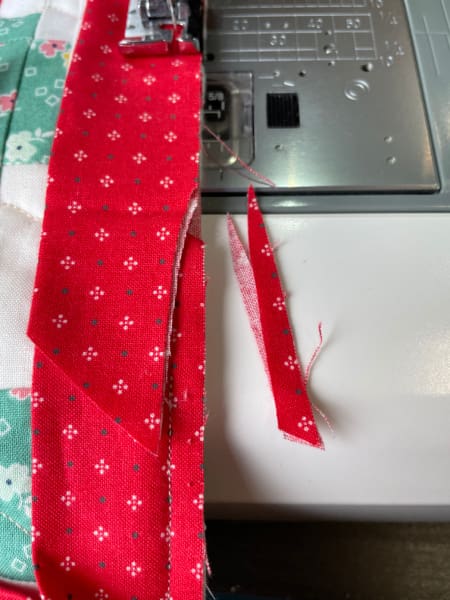
From the pointy end trim off a quarter of an inch up to nothing at the top of your pocket. This is so take the excess away as this is going to be tucked into the pocket.
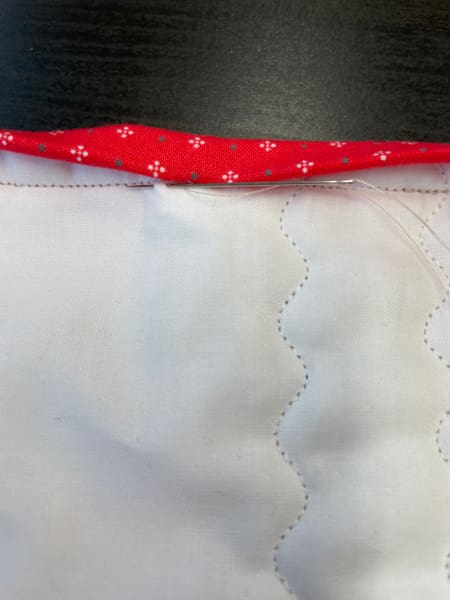
Tuck this end into the pocket and stitch into place.
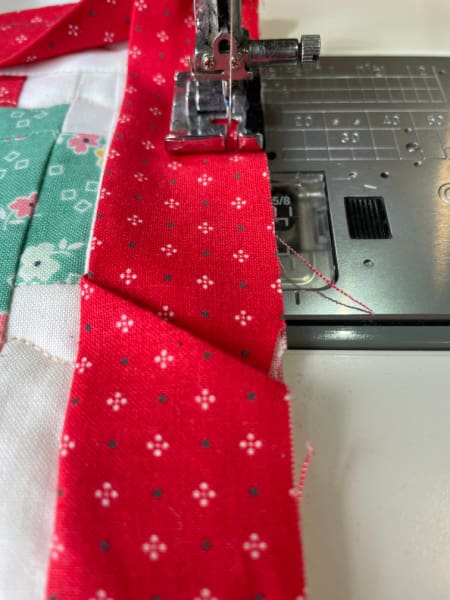
Binding end tucked in.
Stitch to meet where you started.
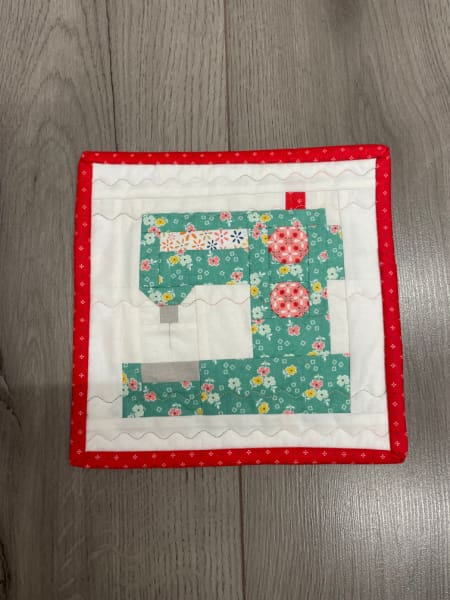
Fold the binding around to the back, fold the corners do not try to turn them through like a pair of socks, just fold. Hand stitch just below the binding stitch line and into the under edge of the binding, this way the stitches will not be seen.
I hope this is a useful reference, any questions please ask and I will do my best to help.
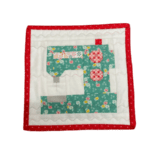
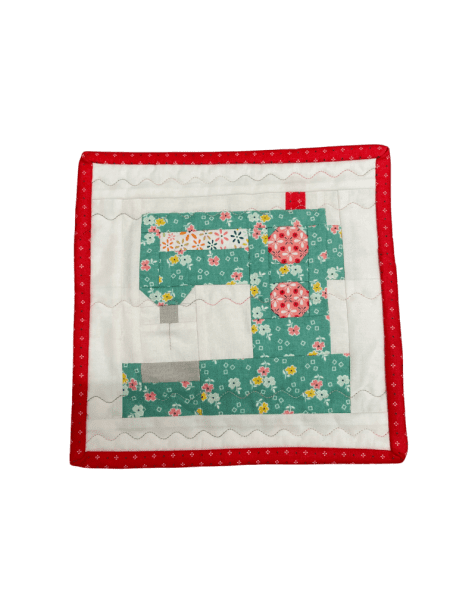
The quilt block featured is from Lori Holts Spelling Bee Book
Quilty Hugs
Mary